

Air Tightness Testing
Don’t hesitate to contact us for further advice or a quote for airtightness testing on your project.
We provide
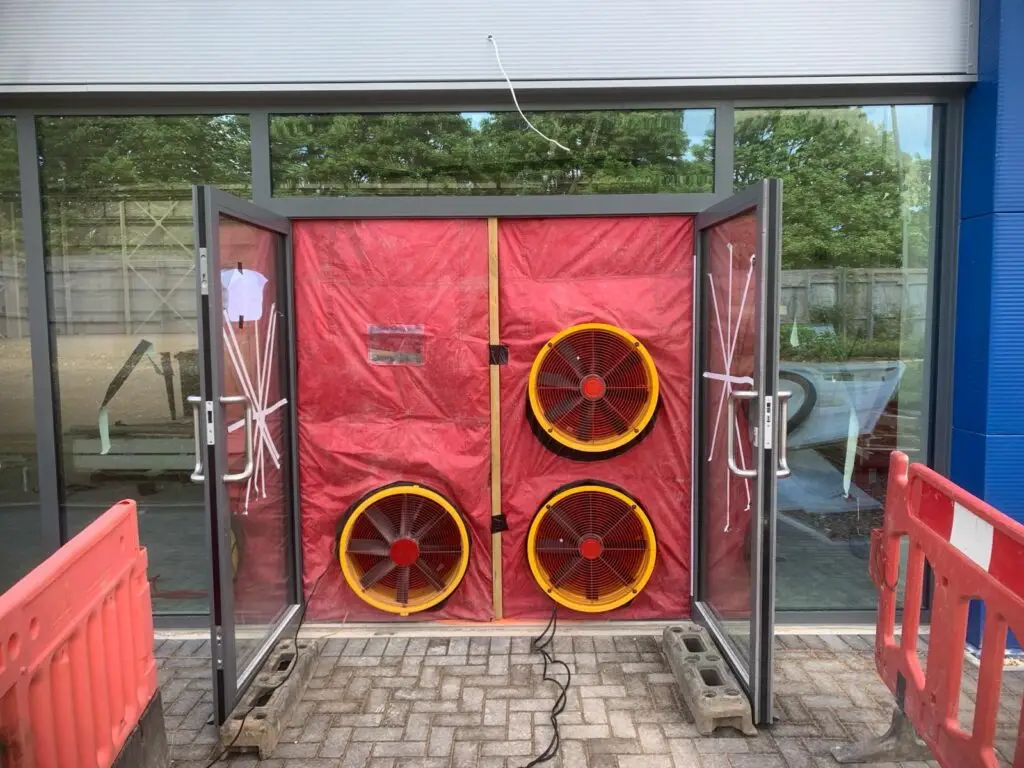
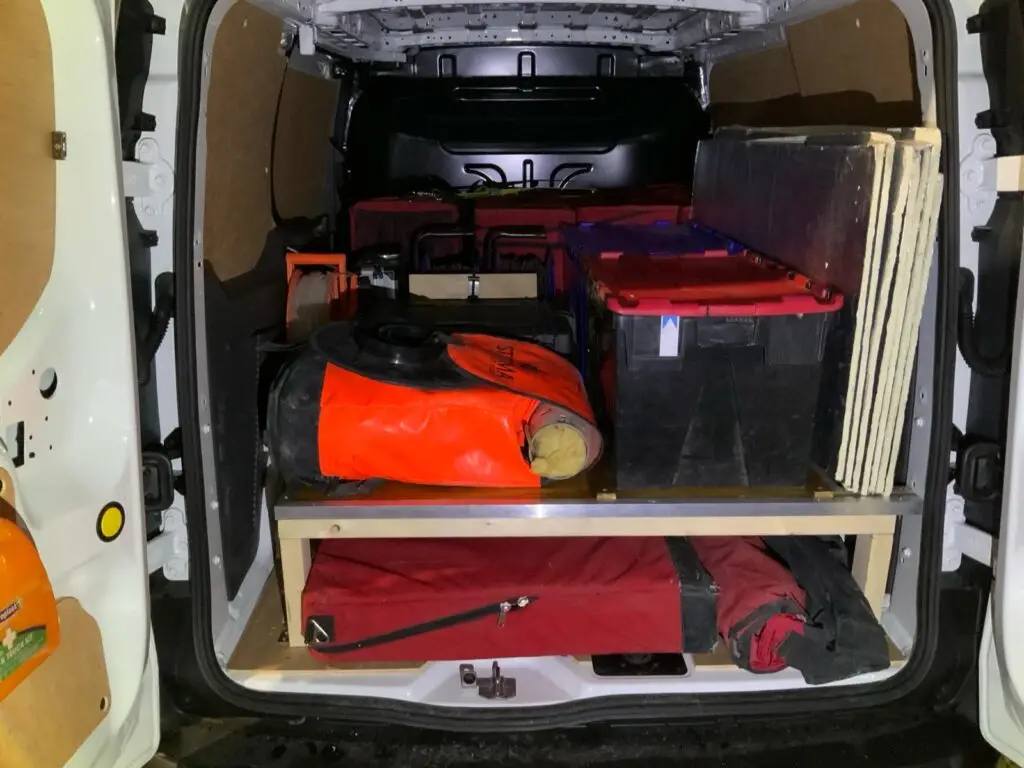
We provide a comprehensive Nationwide air permeability testing service. Our experienced ATTMA and Elmhurst Energy accredited testers can offer support at every stage of your construction.
We conduct
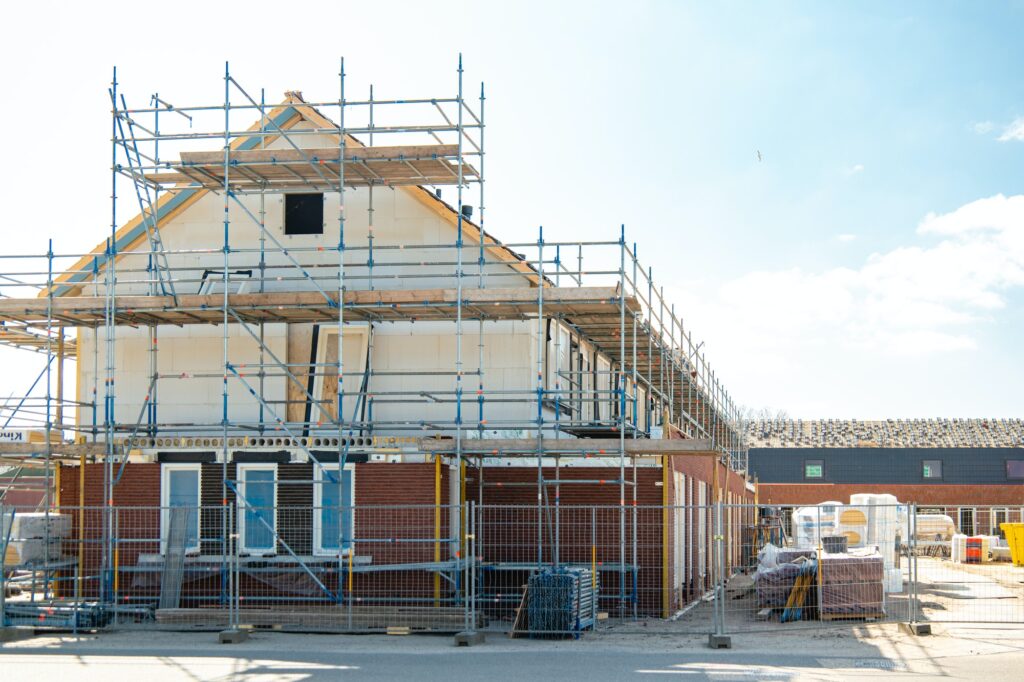
We conduct pre-test inspections and offer site advice throughout construction, including detailed illustrated reports.
Sample testing
Sample testing can be done using non-toxic artificially generated smoke to identify major leakage areas before committing to your final air permeability test.
Uncontrolled air leakage
Uncontrolled air leakage through the fabric of the building results in increased heating demand. It is said that unchecked air leakage through gaps and cracks in the construction can cause up to 40% heat loss.
Air permeability testing
Air permeability testing is mandatory for new buildings under Part L of the Building Regulations. It is a prerequisite for producing SAP and SBEM calculations and determining a final EPC rating.
Airtightness Checklist
Our airtightness checklist is designed to help developers monitor airtightness throughout their projects. It is intended as a guide only. Where complicated junctions are involved, or construction is undertaken with different build systems, we advise you to seek our advice for your specific project.
Don’t hesitate to contact us for further advice or a quote for airtightness testing on your project.
Design
Ensure that the air seal line has been defined on the construction drawings and that airtightness is discussed in the project specification.
Timber frame construction
The air seal line is generally the internal membrane or OSB layer, with all joins taped. For masonry construction, it is generally the plasterboard layer. However, we strongly advise that it should be the internal blockwork skin and that this skin is treated with an airtightness coating, such as Passive Purple (depending on the density of blockwork, it may not be airtight), with all joins at floors, ceilings, and openings/penetrations fully sealed.
First Fix
- Seal the perimeter of the floor.
- Seal joints in the flooring, such as beam and block joins or floorboards.
- Seal joist penetrations (or use joist hangers where possible).
- Seal any pipework or cable penetrations through the walls, floors, and ceilings.
- Seal cavity closers and window and door frames against the wall construction.
Masonry Construction
Ensure complete pointing up of the internal blockwork skin or, ideally, coat blockwork in an air-tightness product such as Passive Purple.
Timber Frame Construction
the vapour control layer should form a continuous airtight barrier – ensure all laps and joins are fully taped with high-quality air-tightness tape. We recommend Pro-Clima tapes such as Pro-Clima Vana Airtightness Tape.
Structurally Insulated Panels (SIPs)
This building system can produce excellent airtightness test results. However, many self-builders believe the system is airtight in design and that they do not need to worry about airtightness – it is essential to ensure that all panels are fitted together carefully, and an airtight seal is created – we recommend Pro-Clima tapes for this.
Seal the perimeter of plasterboard ceilings before fitting plasterboard walls.
When installing a plasterboard with the dot and dab method, ensure it is installed with solid adhesive lines along the top, bottom, and sides of each room and around service penetrations in line with the British Gypsum installation guide.
Seal any pipework or cable penetrations through walls, floors, and ceilings.
Seal soil stack penetrations through floors and ceilings.
Top tip: When using expanding foam, many builders seal the bottom of the plasterboard before fitting the skirt boards. We recommend low-expansion foam for this purpose and then topping it off with a mastic sealant.
Second Fix
- Seal any joins in intermediate floor construction and around staircases.
- Fit skirting boards behind your kitchen units and baths – seal the top and bottom before units are fitted.
- Seal pipework where it penetrates plasterboard before installing sanitary ware and kitchen/bathroom units, and then double-check seals.
- Seal around windows and doors, including the undersides of door thresholds to the head of the brick, etc.
- Seal the top and bottom of the skirting boards with a suitable caulk/sealant.
- Ensure the loft hatch is fitted well with all seals in place and seal around the perimeter.
- Seal around the cooker hood ductwork and boiler flue where it penetrates the wall/ceiling.
- Ensure door seals and threshold strips are fitted.
- Repair any damage to the plasterboard.
- Fit downlight covers whenever possible.
Our airtightness checklist is designed to be used as a general guide by site management throughout the build. It is also helpful to hand out to trades and display in the site office/canteen areas.
Temporary sealing guidance
All temporary sealing shall be carried out internally or externally but not both and in line with the guidance set out in this form.
Don’t hesitate to contact us for further advice or a quote for airtightness testing on your project.
Mechanical ventilation
MVHR units and extractors, such as the bathroom, kitchen, and cooker hoods, should all be temporarily sealed.
Trickle ventilators
Trickle ventilators must be fitted, closed and temporarily sealed.
Air conditioning
Air conditioning must be switched off.
Air conditioning grilles can be temporarily sealed internally or outside, but not both.
Passive ventilation
Passive ventilation, such as air bricks and subfloor ventilation systems, should be temporarily sealed. Ventilation grilles leading into boiler cupboards are not permitted to be sealed.
Chimney flues
Chimney flues can be temporarily sealed for the test, as these are accounted for in the SAP and SBEM calculations.
Please be aware that
Temporary sealing items that are not approved will be declared on the ATTMA lodgement, resulting in the test certificate being rejected. It is essential that the building to be tested is in a ready state; otherwise, the tester needs to be authorised to carry out the test.
Building control / approved inspectors
Suppose a test certificate contains any temporary sealing outside the ATTMA or Elmhurst Energy guidance notes.
In this scenario, the certificate shall not be accepted as evidence of compliance and must be retested with the additional sealing removed. If you are in any doubt, please do not hesitate to get in touch with us.
The following items must not be temporarily sealed
- Electrical sockets or switches.
- Bath panels and shower trays.
- Loft hatches and access panels.
- Doors to unconditioned areas such as cupboards and storage areas.
- External doors and windows.
- Kitchen cabinets.
- Skirting boards.
Important note
Only three times additional temporary sealing over and above what is described in the test standard can be applied.
- To seal a building component that is either missing or broken.
- To prove or disprove a single component’s overall impact on air leakage.
- Research when testing a building at an early stage.
Temporary sealing of a broken or missing component should be done only as an exception and only when fixing or installing the part isn’t possible.
Excessive additional temporary sealing, such as taping more than one broken or missing component, will render the test rejected and need retesting.
All internal doors to conditioned areas must remain open during the test. Closing doors to create false pressures will lead to the test being rejected.
